


September 24, 2020
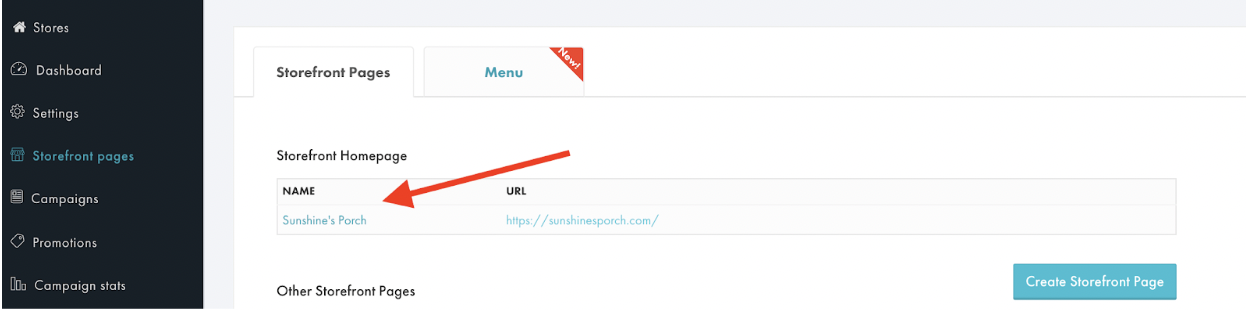
First, log into your account and go to the “Storefront Pages” section and select your main storefront settings by clicking on the name.
Define your store by adding a banner to your Storefront Homepage. Click on “Upload Banner” and select your image. The recommended size for a banner is: Min-Width 1500px / Height 200-300px):
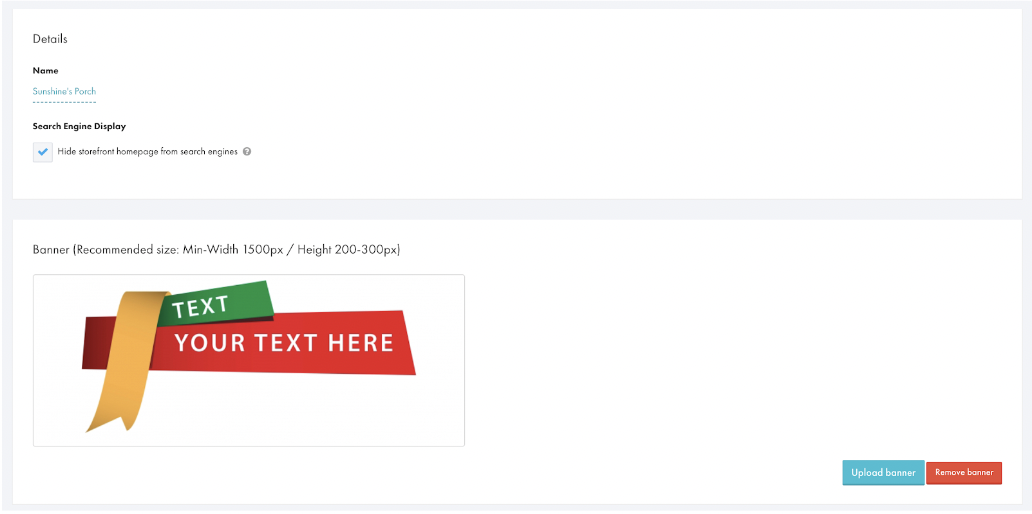
Next, scroll down to add a unique description by clicking on the description box. Keep the description text short.

Here a list of thing you can consider when adding a description:
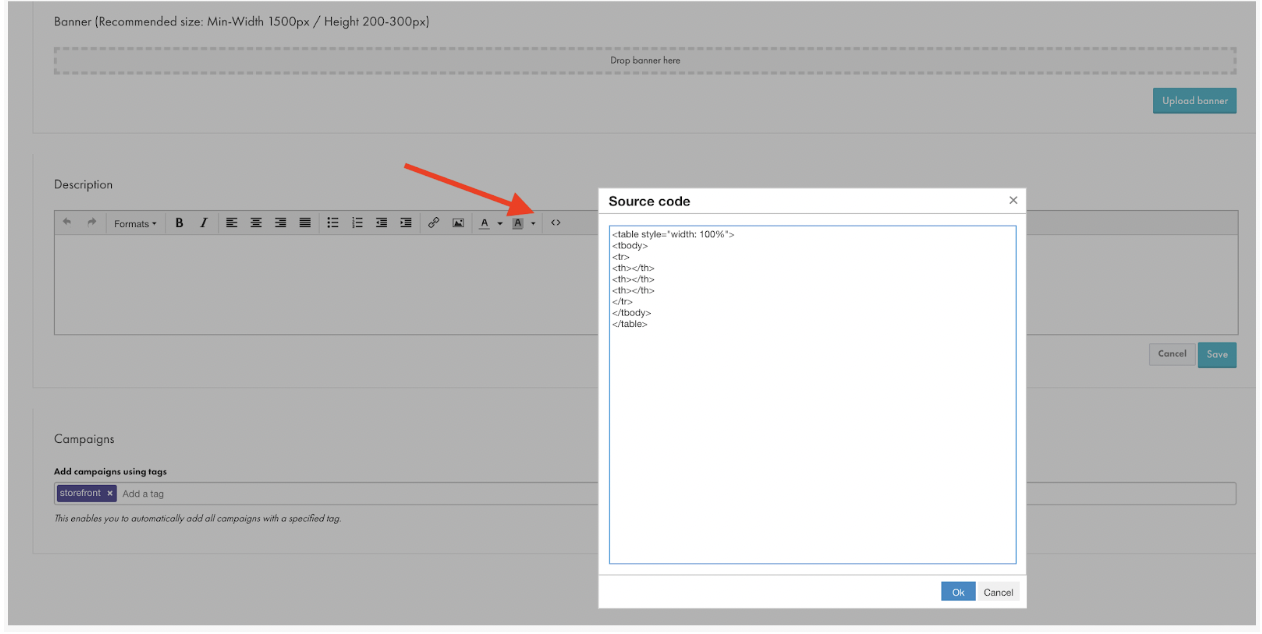
If you know some basic HTML coding, you’re welcome to copy and paste your site code directly in by clicking the button to create a more personalized banner. More on this below!
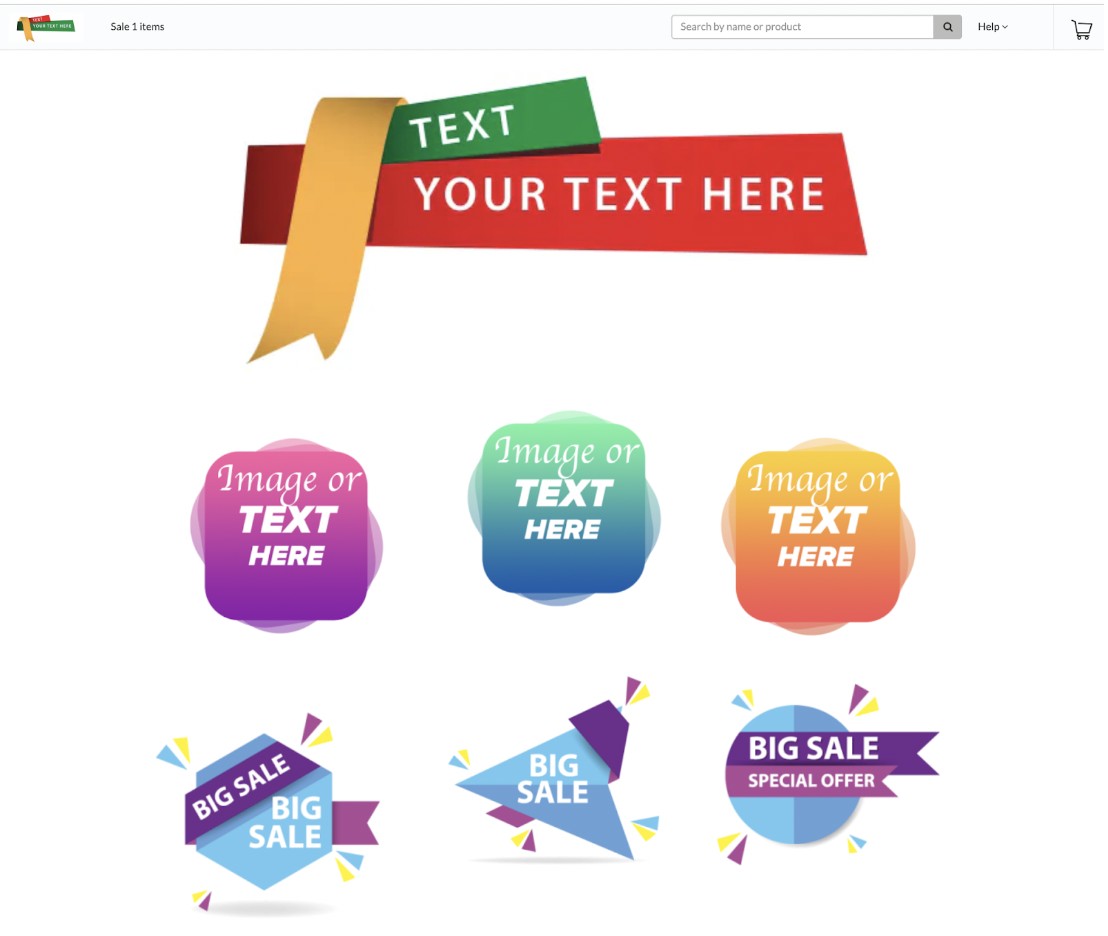
First, we recommend looking for images you want to display on your homepage. These could be product images, lifestyle shots, or icons that represent your storefront. It is best if these images are the same size to create an even nice look to your page (see example below).
These images need to be uploaded previously to the web, as you will be inserting the URL path to the HTML coding. We suggest uploading them to pages like Imgur, Flickr or similar sites. Please make sure those images are public so they can be displayed on your site.
If you don’t, don’t worry. We’ll help you make a basic table where you can insert your preferred images and keep them organized on your page. This will give you a 3-column table, equally spaced across your front page. Paste the code in the “source code” box and click OK.
By repeating the code you can create multiple rows of images.
Here is the code to enter in the “source code” box ():
<table style=”width: 100%”>
<tbody>
<tr>
<th></th>
<th></th>
<th></th>
</tr>
</tbody>
</table>
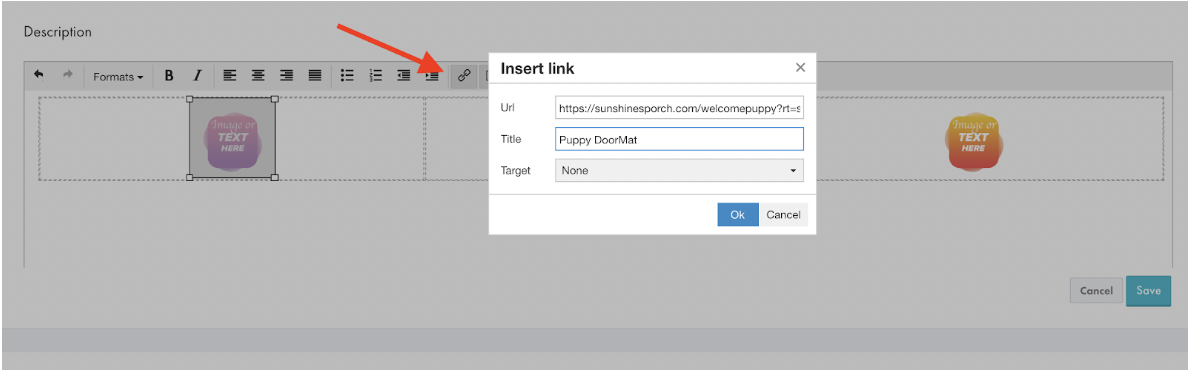
Next, click inside the first cell/row of your table and choose the insert image button to see the image settings. Enter your image URL path or source, description, and dimensions you want. Click OK.
To add more images, repeat this process in each cell/row.

Now, you will want to add a link to your images so they are clickable. Click on the first image and then click on the link button (🔗). Enter the URL to the campaign or storefront page that you want to direct your customer to. Repeat this process with each image.
Save! Now you will have a cool, customized storefront!
[/col] [/row]
.svg)
.svg)
.svg)
