

Products

.svg)

.svg)
Create a store that sells and stands out.

Updated March 2026
To create a storefront, log into your account, go to the “Storefront Pages” section and click on the “Create Storefront Page” button.

On the next page, click on the name field to add the name of your new storefront. Next, click on the URL path field to add the url of the storefront.
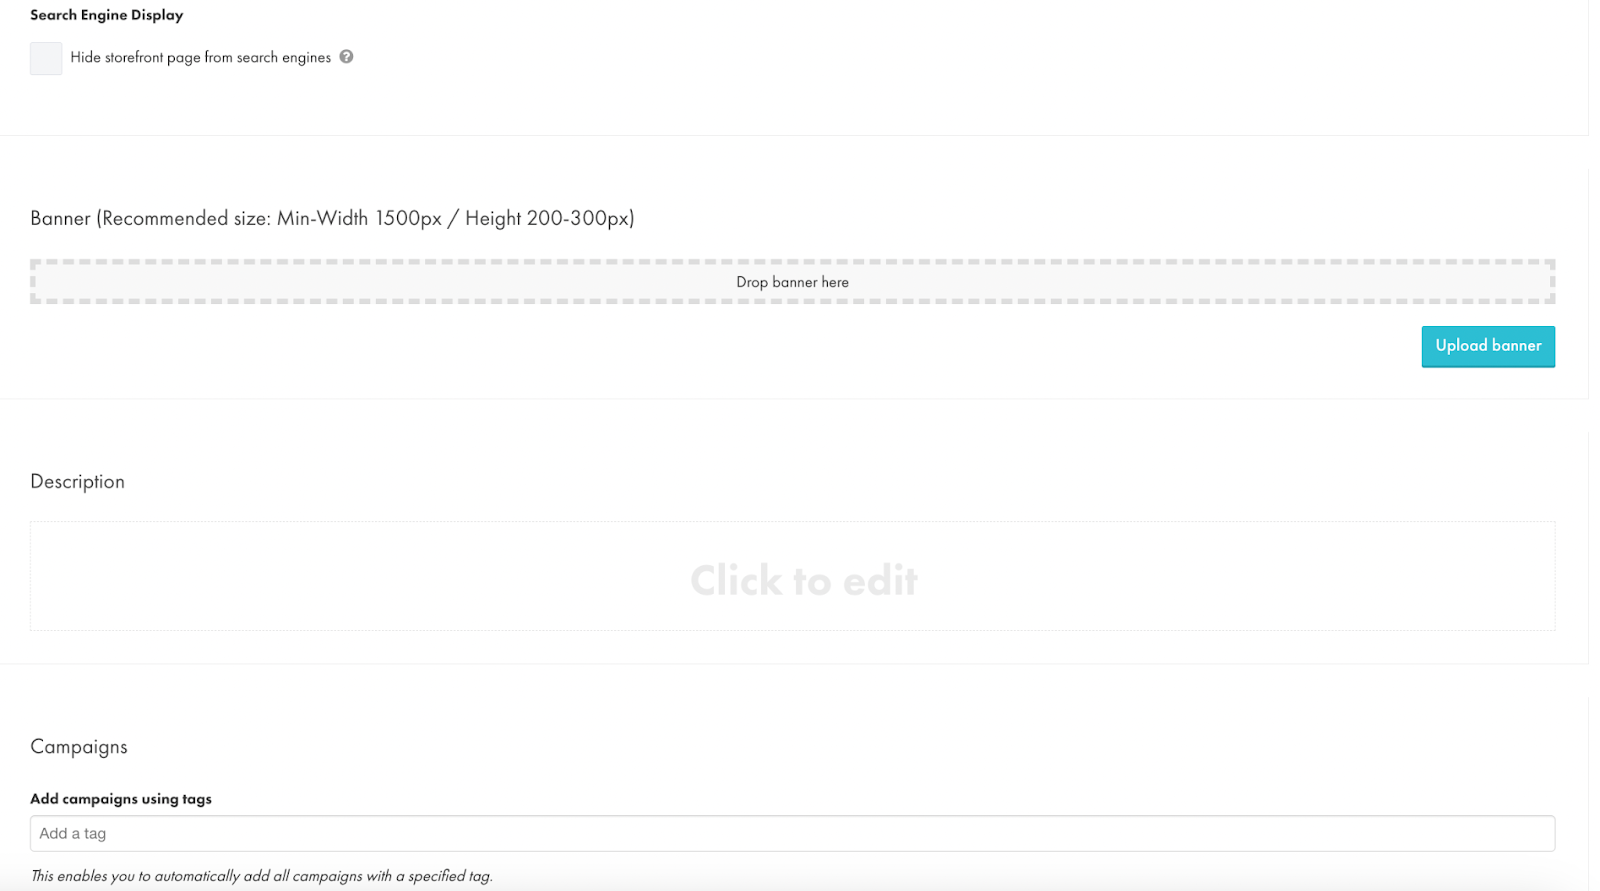
There are a few features you can set up for the Storefront page:
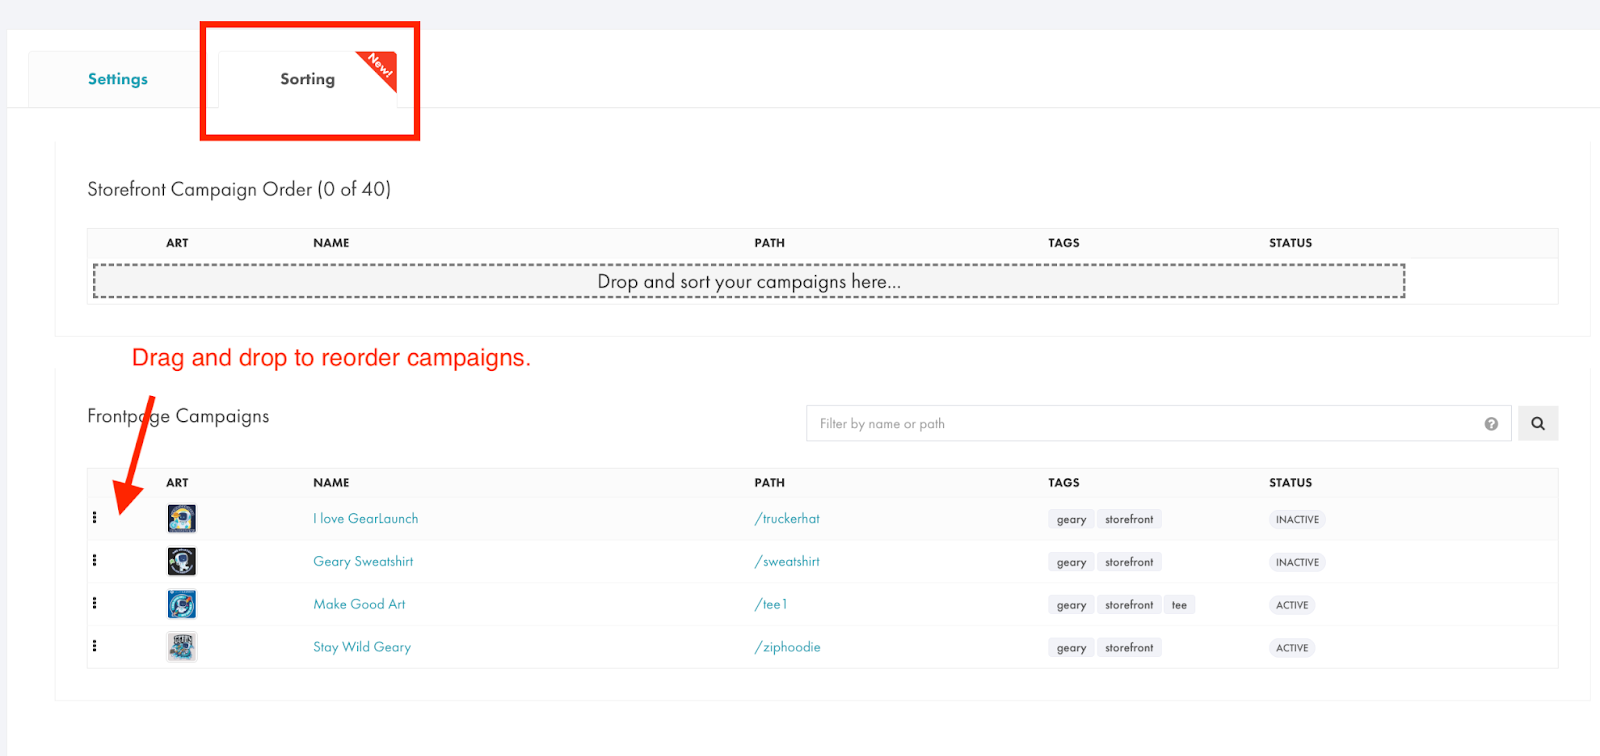
After adding campaigns to your storefront, you can go to the Sorting tab to arrange the display order of campaigns. Hover your mouse pointer over the space between the three-dot icon and outside the Art column, then drag and drop to reorder the campaigns as desired.
To make your storefront go live, you can click on the “Publish Page” button or go back to the Storefront Pages section, where you’ll see all the storefronts you’ve added to your website and publish it from here too.

Now click on the path to see it online.
Your storefront is ready now and you can start adding campaigns to it.


.svg)
.svg)
.svg)